
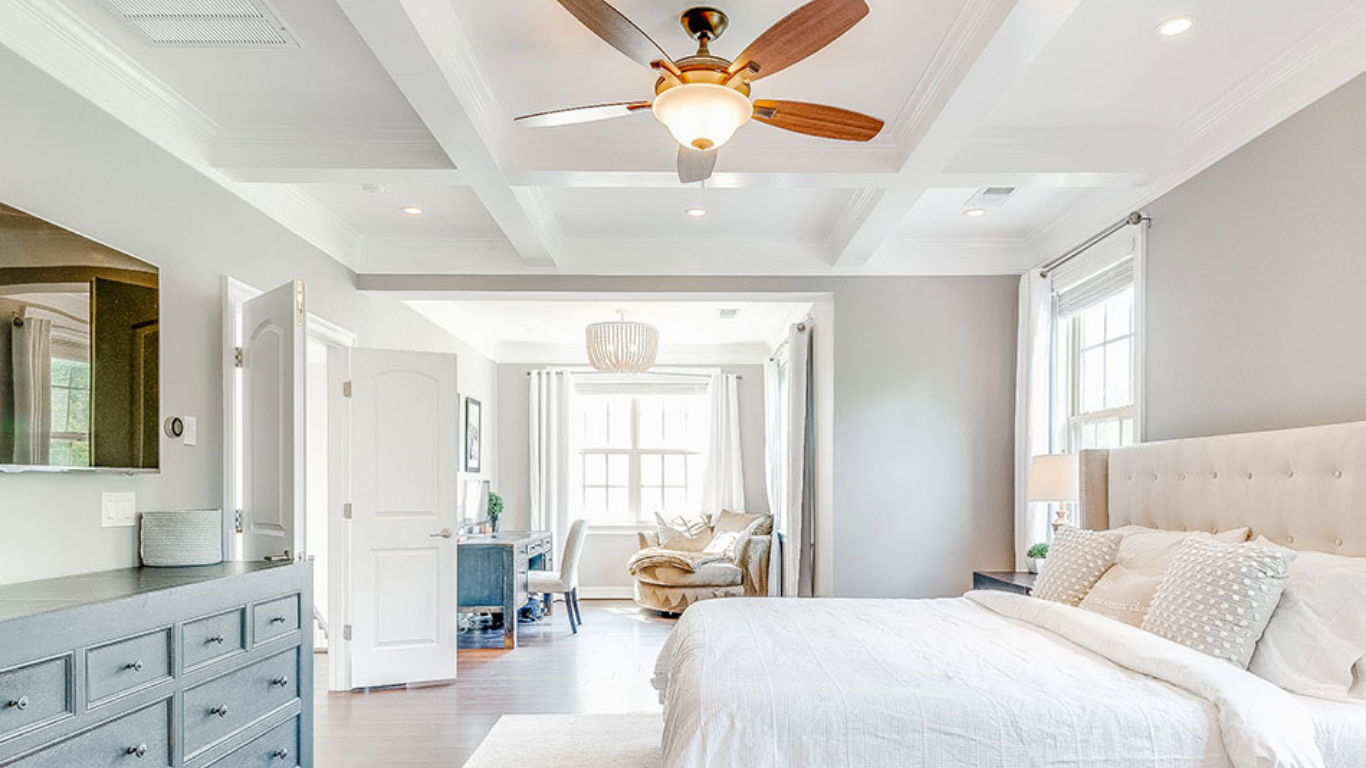
Coffered ceilings have long been a hallmark of sophisticated interior design, adding depth, character, and a touch of classical grandeur to any space. For homeowners seeking a striking yet achievable upgrade, a DIY coffered ceiling offers an rewarding project that can dramatically elevate a room without the expense of professional installation. Whether you’re refreshing a living room, dining area, or bedroom, this technique creates a grid of recessed panels framed by beams, instantly making the ceiling a focal point.
In this comprehensive guide, we’ll explore everything you need to know about undertaking a DIY coffered ceiling, from its rich history and practical benefits to detailed step-by-step instructions, material choices, costs, and expert tips. With careful planning and the right tools, even intermediate DIY enthusiasts can achieve professional-looking results that boost both aesthetics and property value.
What Is a Coffered Ceiling?
A coffered ceiling features a series of sunken panels (the “coffers”) arranged in a geometric grid, typically squares or rectangles, separated by decorative beams. The term “coffer” derives from the Latin coffra, meaning box, reflecting the box-like indentations.
Historically, coffered ceilings originated in ancient Greek and Roman architecture, where they served a structural purpose by reducing the weight of heavy stone or concrete ceilings, as famously seen in the Pantheon. Over centuries, the design evolved into a decorative element favoured in grand European homes and later adopted in colonial and modern interiors.
Today, DIY coffered ceilings use lighter materials like wood, MDF, or even lightweight composites to mimic this luxurious look affordably. Unlike structural versions, modern iterations are purely aesthetic, making them ideal for home renovations.
Benefits of Installing a DIY Coffered Ceiling
Beyond visual appeal, coffered ceilings offer several advantages that make the effort worthwhile:
- Aesthetic Impact: They add height perception, texture, and architectural interest, making rooms feel more intimate and luxurious, especially those with higher ceilings.
- Acoustic Improvements: The recessed panels and beams can help diffuse sound and reduce echoes, enhancing comfort in open-plan living areas.
- Property Value: A well-executed coffered ceiling can increase a home’s appeal to buyers, signalling quality craftsmanship.
- Customisation: Choose from painted finishes, stained wood, or integrated lighting for a bespoke result.
While professional installation can cost £10–£30+ per square foot (including labour), a thoughtful DIY coffered ceiling project often stays well under £1,000–£2,000 for an average room, depending on size and materials.
Planning Your DIY Coffered Ceiling Project
Success begins with thorough preparation. Measure your room carefully—ideally square or near-square spaces work best—and consider ceiling height (minimum 8–9 feet recommended to avoid a cramped feel).
Key Considerations:
- Layout: Aim for even spacing. A common pattern uses 12–24 inch coffers. Sketch on paper or use software before marking the ceiling.
- Joist Locations: Use a stud finder to locate ceiling joists for secure attachment.
- Lighting and Fixtures: Plan around recessed lights, chandeliers, or medallions.
- Budget: Materials for a 14×14 ft room might total £500–£1,300, covering boards, moulding, and finishes.
Gather tools: stud finder, laser level or chalk line, miter saw, nail gun or brad nailer, measuring tape, drill, safety gear, ladders, and painting supplies.
Materials for a Successful DIY Coffered Ceiling
Popular choices include:
- Pine or MDF boards (1×4, 1×6, 2×6) for the grid and beams — affordable and easy to work with.
- Crown moulding and baseboard for trim details.
- Plywood or beadboard for panel inserts.
- Primer, paint, caulk, wood filler, and screws/nails.
Lighter options like PVC or foam moulding suit beginners or rental properties, while solid wood offers premium durability. Always check load-bearing capacity before adding significant weight.
Step-by-Step Guide to Building a DIY Coffered Ceiling
- Prepare the Space: Clear the room, protect floors, and remove existing light fixtures if needed. Locate and mark all joists.
- Mark the Grid: Use a chalk line and level to draw your beam layout on the ceiling. Ensure lines are perfectly square and even.
- Install Support Framework: Attach backing boards (e.g., 2×4 or 2×6) along the grid lines, screwing securely into joists. Work in layers for depth if creating box beams.
- Build and Attach Beams: Pre-assemble beam sides or brackets on the ground where possible for accuracy. Secure vertical sides, then add bottom panels. Many DIYers create hollow box beams for a substantial look without excess weight.
- Add Trim and Moulding: Install crown moulding along perimeters and beams for a polished finish. Cope joints for seamless corners.
- Fill and Finish: Caulk gaps, fill nail holes, sand smooth, prime, and paint. Consider staining for a warm, natural effect or adding a ceiling medallion.
- Reinstall Fixtures: Add lighting and test everything.
The entire process can take 18–40 hours spread over weekends, depending on room size and complexity.
Common Mistakes to Avoid in Your DIY Coffered Ceiling
- Uneven measurements leading to crooked beams.
- Ignoring joists, resulting in sagging.
- Poorly mitred joints that show gaps after painting.
- Rushing the finishing stage — patience here separates amateur from professional results.
- Overloading the ceiling without structural checks.
Take your time with layout and use a laser level for precision.
Cost Breakdown and Budget Tips
For a typical bedroom-sized project:
- Framing lumber: £100–£200
- Moulding and trim: £200–£400
- Fasteners, caulk, paint: £50–£100
- Total materials: Often £500–£1,300 for DIY.
Shop sales at DIY stores, use MDF for painted finishes to save money, or opt for faux beams if full depth isn’t feasible. Professional costs run significantly higher due to labour.
Design Variations and Inspiration
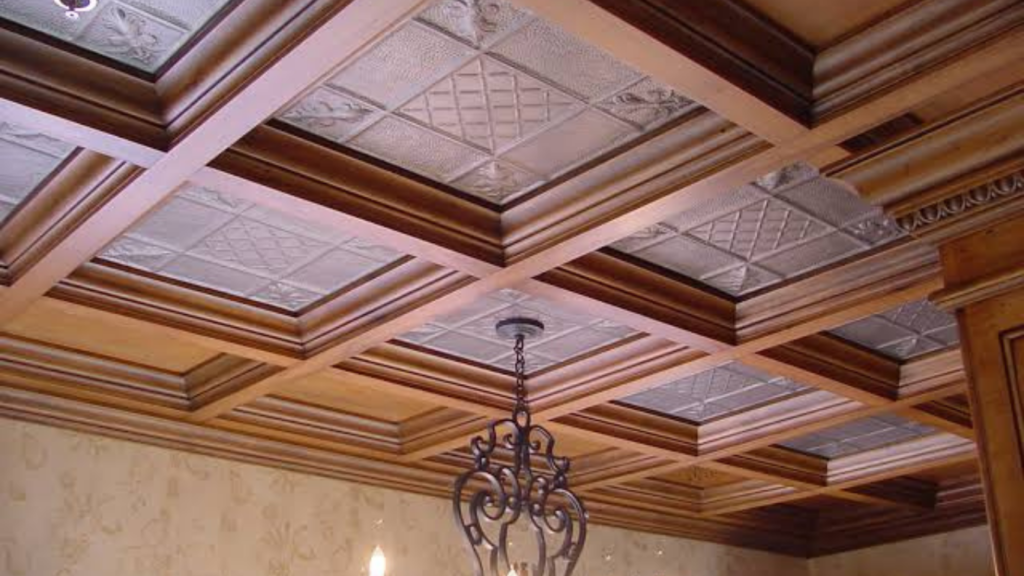
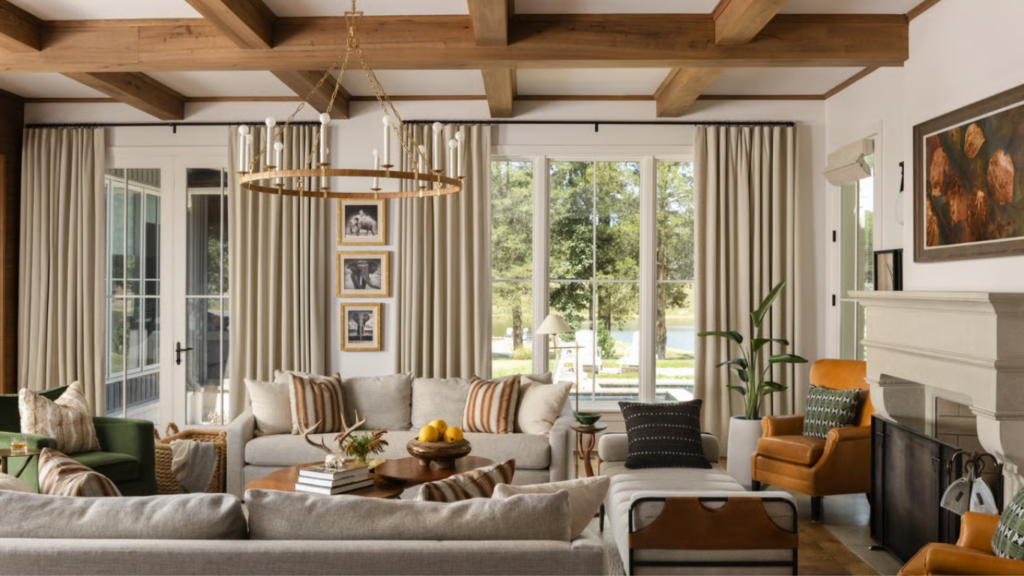
Modern DIY coffered ceilings can be minimalist with clean lines or traditional with ornate detailing. Consider two-tone paint, integrated LED strips, or combining with shiplap for texture. Smaller grids suit compact rooms, while larger coffers work in spacious areas.
Maintenance and Longevity
Once complete, a DIY coffered ceiling requires minimal upkeep — occasional dusting and touch-up painting. Quality materials and proper installation ensure it lasts for decades.
Quick Facts: DIY Coffered Ceiling
| Detail | Information |
|---|---|
| Typical Cost (Materials, Average Room) | £500–£1,300 |
| Time to Complete | 18–40 hours |
| Skill Level | Intermediate to Advanced |
| Best Materials | Pine, MDF, Crown Moulding |
| Main Benefits | Aesthetics, Acoustics, Value |
| Historical Origin | Ancient Greece & Rome |
The Lasting Appeal of a DIY Coffered Ceiling
A well-crafted coffered ceiling transcends trends, offering enduring elegance that enhances daily living. It proves that with planning and perseverance, homeowners can create high-end features themselves, blending historical charm with modern practicality.
conclusion
Whether your style leans classic or contemporary, embarking on a DIY coffered ceiling project rewards with a space that feels custom and inviting. The sense of accomplishment from transforming a plain ceiling into a statement feature is unmatched.









Leave a Reply