
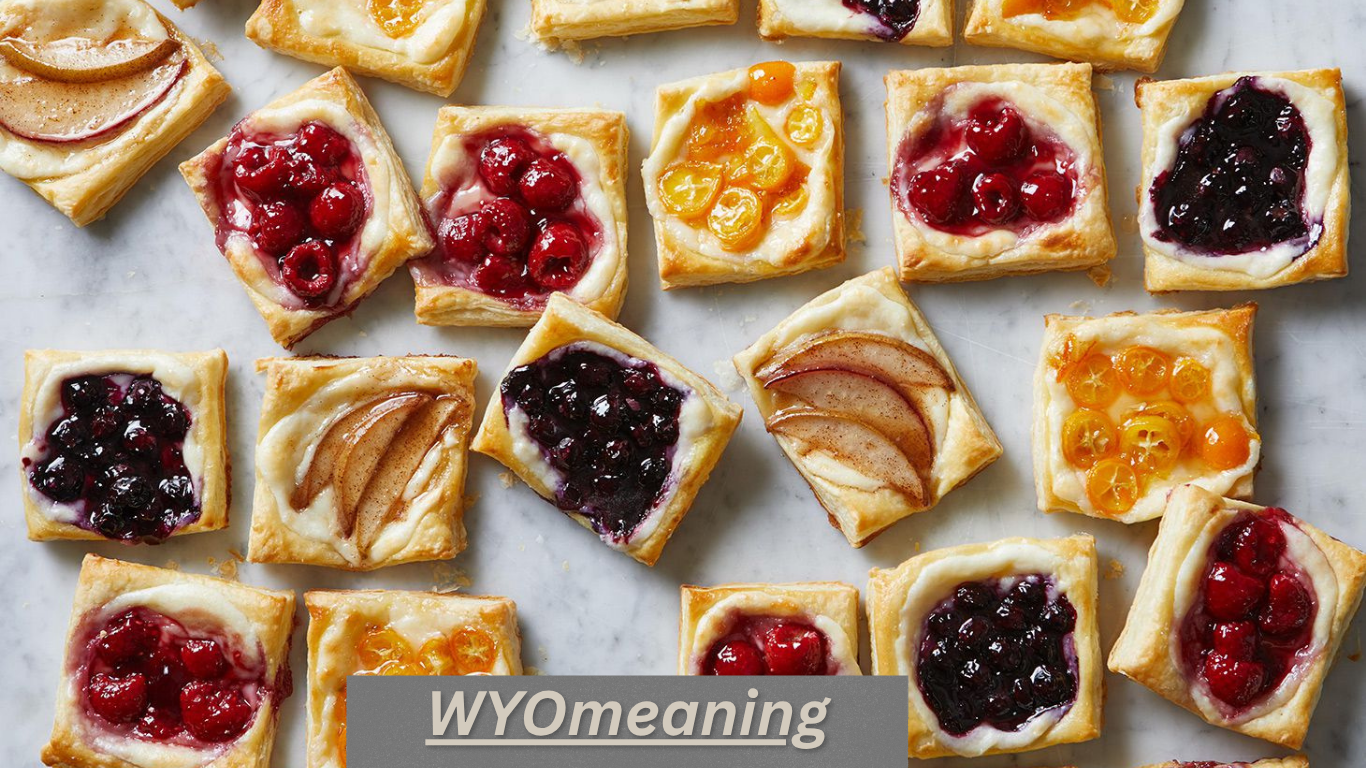
There is something deeply satisfying about a well-made cream cheese Danish. The shatteringly crisp, buttery layers give way to a smooth, lightly sweetened cream cheese centre that is neither too rich nor overly sugary. Whether enjoyed warm from the oven with a morning coffee or shared at a weekend brunch table, this pastry has earned its place as a favourite across bakeries and home kitchens alike.
The cream cheese Danish recipe remains popular because it delivers bakery quality with surprisingly approachable methods. While traditional versions rely on laminated yeast dough, many excellent home versions use ready-made puff pastry for speed without sacrificing flavour or texture. Readers keep returning to this classic because it balances indulgence with simplicity, offering a treat that feels special yet achievable on an ordinary day.
In the pages that follow you will find the background of the pastry, a reliable cream cheese Danish recipe, practical tips, and ideas for variation. Everything is written with UK ingredients, measurements and oven temperatures in mind.
A Brief History of Danish Pastry and the Cheese Filling
Danish pastry, known in Denmark as wienerbrød or “Viennese bread,” has Austrian roots rather than purely Danish ones. In 1850 a bakers’ strike in Denmark led employers to bring in workers from abroad, including skilled Austrian bakers. These newcomers introduced the technique of laminating butter into enriched dough, creating the light, multi-layered pastry that Danes refined and made their own. The result was richer and more egg- and fat-forward than the original Austrian Plundergebäck.
The cream cheese version developed more fully in the United States. Cream cheese itself was popularised in America in the late nineteenth century by dairyman William Lawrence of upstate New York, who adapted the French Neufchâtel style into a milder, higher-fat product. American bakers soon began filling Danish-style pastries with sweetened cream cheese, sometimes accompanied by fruit or jam. By the mid-twentieth century the cheese Danish had become a staple of American coffee shops and supermarket bakeries, and the style spread internationally.
Today the cream cheese Danish recipe sits comfortably between European technique and American comfort. Home cooks in the UK can recreate the experience with either a proper laminated dough or a shortcut using shop-bought puff pastry.
Ingredients for an Easy Cream Cheese Danish Recipe
This version prioritises reliability and flavour while remaining realistic for a home kitchen. It yields eight to twelve individual pastries, depending on size.
For the filling
- 225 g full-fat cream cheese, at room temperature
- 40–50 g icing sugar, sifted
- 1 large egg yolk
- 1 tsp vanilla extract
- 1–2 tsp fresh lemon juice (or a little finely grated zest)
- Pinch of salt
For the pastry and assembly
- 1 × 320–375 g pack ready-rolled all-butter puff pastry (or two sheets if preferred), thawed if frozen
- 1 large egg, beaten with a splash of milk for egg wash
- Optional: apricot or raspberry jam for a thin glaze after baking
- Optional: flaked almonds or extra icing sugar for finishing
Simple lemon glaze (optional)
- 100 g icing sugar
- 1–2 tbsp lemon juice or milk
Using full-fat block cream cheese rather than the softer tub variety gives the best texture. Room-temperature cheese blends smoothly and avoids lumps. All-butter puff pastry produces superior flavour and lift compared with block or reduced-fat versions.
Step-by-Step Cream Cheese Danish Recipe
Preheat the oven to 200 °C (180 °C fan) / Gas Mark 6 and line two baking trays with baking parchment.
In a medium bowl beat the cream cheese until smooth. Add the icing sugar, egg yolk, vanilla, lemon juice and salt. Mix until the filling is creamy and free of lumps. Taste and adjust sweetness or acidity if needed. Transfer to a piping bag or simply keep ready with a spoon.
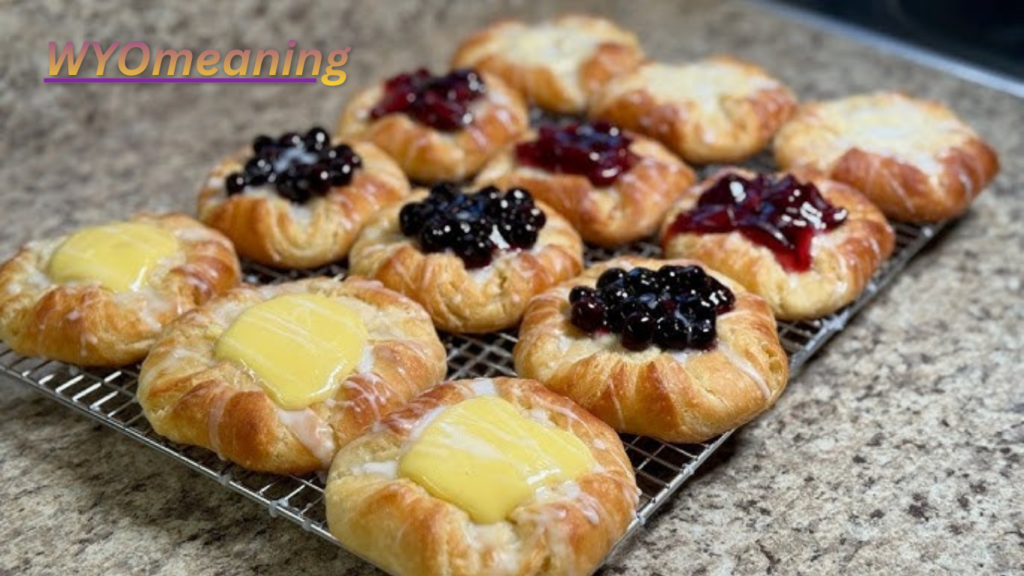
Unroll the puff pastry on a lightly floured surface. If necessary, roll it gently to even thickness and to remove packaging creases. Cut into squares roughly 10–12 cm across, or into rectangles if you prefer a more elongated shape. For the classic “envelope” style, cut squares and fold each corner toward the centre, pressing lightly so they stay in place. For a simpler version, leave the squares flat and create a shallow well in the centre by pressing with the back of a spoon, taking care not to pierce the base.
Pipe or spoon a generous tablespoon of cream cheese filling into the centre of each piece. Brush the exposed pastry edges with the beaten egg wash. If desired, scatter a few flaked almonds around the edges.
Bake for 18–25 minutes, rotating the trays halfway, until the pastry is deeply golden and puffed and the filling is set but still soft. The exact time depends on your oven and the thickness of the pastry. Cool on the trays for five to ten minutes, then transfer to a wire rack.
While still warm you may brush the pastry lightly with warmed apricot jam for a shiny finish. Once cooler, drizzle with the simple lemon glaze if using. Allow the glaze to set before serving.
Tips for Reliable Results
Keep the pastry cold until the moment it goes into the oven. Warm dough loses its ability to rise properly and can become greasy. If the kitchen is warm, chill the filled pastries for ten to fifteen minutes before baking.
Do not overfill. Too much cream cheese can leak and make the bases soggy. A rounded tablespoon is usually sufficient.
Egg wash creates colour and helps any folded corners adhere. Apply it carefully so it does not pool in the filling.
If the edges brown too quickly, tent loosely with foil for the final few minutes.
For a more authentic laminated result, experienced bakers can prepare a yeasted Danish dough (enriched with egg, milk and butter, then given several turns of lamination). The process takes several hours of resting and folding but produces an even more tender, layered crumb. The cream cheese filling remains the same.

Variations and Serving Suggestions
Fruit adds brightness. A teaspoon of raspberry, blueberry or apricot jam under or beside the cream cheese works well. Fresh berries can be pressed gently into the filling before baking. A sprinkle of cinnamon sugar on the pastry edges gives a subtle warmth.
Savoury adaptations exist, though they move away from the classic sweet cream cheese Danish recipe. A plain cream cheese base with herbs and a little grated hard cheese produces a pleasant brunch option.
Serve the pastries slightly warm. They pair naturally with coffee, tea or a glass of cold milk. Leftovers keep well in an airtight container at room temperature for a day or in the refrigerator for two to three days. Reheat in a moderate oven (150 °C) for eight to ten minutes to restore crispness. They also freeze successfully once cooled; reheat from frozen in a low oven.
Why This Cream Cheese Danish Recipe Endures
The combination of flaky pastry and tangy-sweet filling satisfies both texture and flavour. It requires no specialised equipment beyond ordinary baking trays and a mixing bowl, yet the finished result looks and tastes impressive. Home bakers appreciate the flexibility: a quick version for busy mornings or a more involved laminated dough for special occasions.
conclusion
The pastry continues to appear on bakery counters and brunch menus because it is adaptable, photogenic and genuinely delicious when made with care. A well-executed cream cheese Danish recipe demonstrates that some classics remain popular for good reason—they deliver consistent pleasure without unnecessary complication.







Leave a Reply